





It’s that time when we’re all standing in front of the dryer, telling the machine, “You look and sound fine, but you’re failing at the one job you need to do: get hot.”
A basket of wet clothes is piling up, but the dryer isn’t doing its job. That moment is equal parts frustration and mild panic. It doesn’t matter what your specific brand is (Samsung, LG, Whirlpool, Maytag, GE); it’s a matter of time to fix it and get the work done.
We’ll start with zero-tool sanity checks, then move to the components that fail most often, how to think about a DIY fix versus calling a pro, what it should cost, and how to make sure it never happens again.
First, Try These Quick Checks (No Tools Needed)
Before you pull the machine apart, a handful of simple missteps can trick you into thinking a major part has died. Walk through these before you spend a dime.
1. Check the cycle you selected
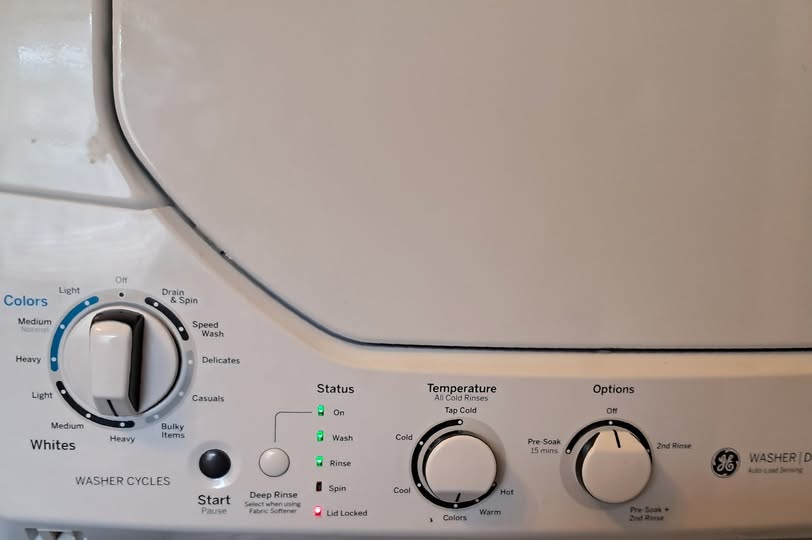
Many modern dryers have cycles that deliberately use no heat, such as Air Fluff, Air Dry, Cool Tumble, or a dedicated Timed Dry cycle set to “no heat”. This setting spins the drum and moves air without ever turning on the heat. Newer Samsung, LG, and Whirlpool models also have eco or “energy saver” modes that run cooler than you’d expect. Switch to a standard cycle like Normal, Cotton, or Timed Dry with heat and run a short test.
2. Check how full the drum is
An overloaded drum can’t tumble clothes through the warm air, so everything stays damp even when the heat is fine. If you’ve crammed a comforter or a double load in there, pull half of it out and try again.
3. Check the airflow
A dryer makes heat, but it also has to push that heat out. When airflow is choked off, the dryer either can’t dry properly or overheats and shuts its own heat down as a safety measure.
- Clean the lint screen every single load, not occasionally. A film of fabric softener residue can clog it even when it looks clean.
- Check the vent hose behind the dryer for kinks, crushing, or a buildup of lint.
- Check the outside vent flap. Make sure it opens when the dryer runs and isn’t blocked by lint, debris, or a bird’s nest. In a lot of older Bay Area buildings, the exterior duct run is long or shared, which makes restricted airflow even more likely.
This step matters for more than drying. A clogged dryer vent is a genuine fire hazard, so clearing it is worth doing regardless of what’s causing the no-heat issue.
4. Check the breaker (electric dryers)
If you are not technical, you may be surprised. An electric dryer runs on a 240-volt circuit, which is really two 120-volt legs working together. The motor and the heat are drawn from different legs. If one leg trips, you get the classic symptom: the drum spins normally, but there’s no heat at all.
Go to your electrical panel, find the dryer’s double-pole breaker, switch it fully OFF, then back ON. A half-tripped breaker often doesn’t look tripped, so reset it firmly even if it appears fine. If it trips again right away, stop and call an electrician or appliance tech, since that points to a wiring or component fault.
5. Check the gas supply (gas dryers)
If you have a gas dryer and there’s no heat, confirm the gas shutoff valve behind the unit is fully open, and check that your other gas appliances (stove, water heater) are working. If gas to the whole home is out or the valve is closed, the dryer has nothing to ignite.
Still No Heat? Here’s the Part That’s Probably Failing
If the quick checks didn’t fix it, the problem is almost certainly one internal component. Below is each likely part, what it actually does in plain terms, the sign that points to it, and whether it’s a reasonable DIY repair.
1. Thermal fuse
A small one-time safety device that permanently cuts the heat if the dryer ever gets too hot, usually because of restricted airflow from a clogged vent. Once it’s blown, the dryer will never heat again until the fuse is replaced.
The fuse location varies by brand. On many Samsung and LG dryers, it’s mounted on the blower housing; on Whirlpool, Maytag, and Kenmore models, it’s often on the exhaust duct. You disconnect the wires, test for continuity (no beep = blown), and if it’s dead, you replace it with an exact match amperage rating. But we suggest you get help from a dryer repair expert because the thermal fuse doesn’t blow for no reason.
2. Heating element (electric dryers)
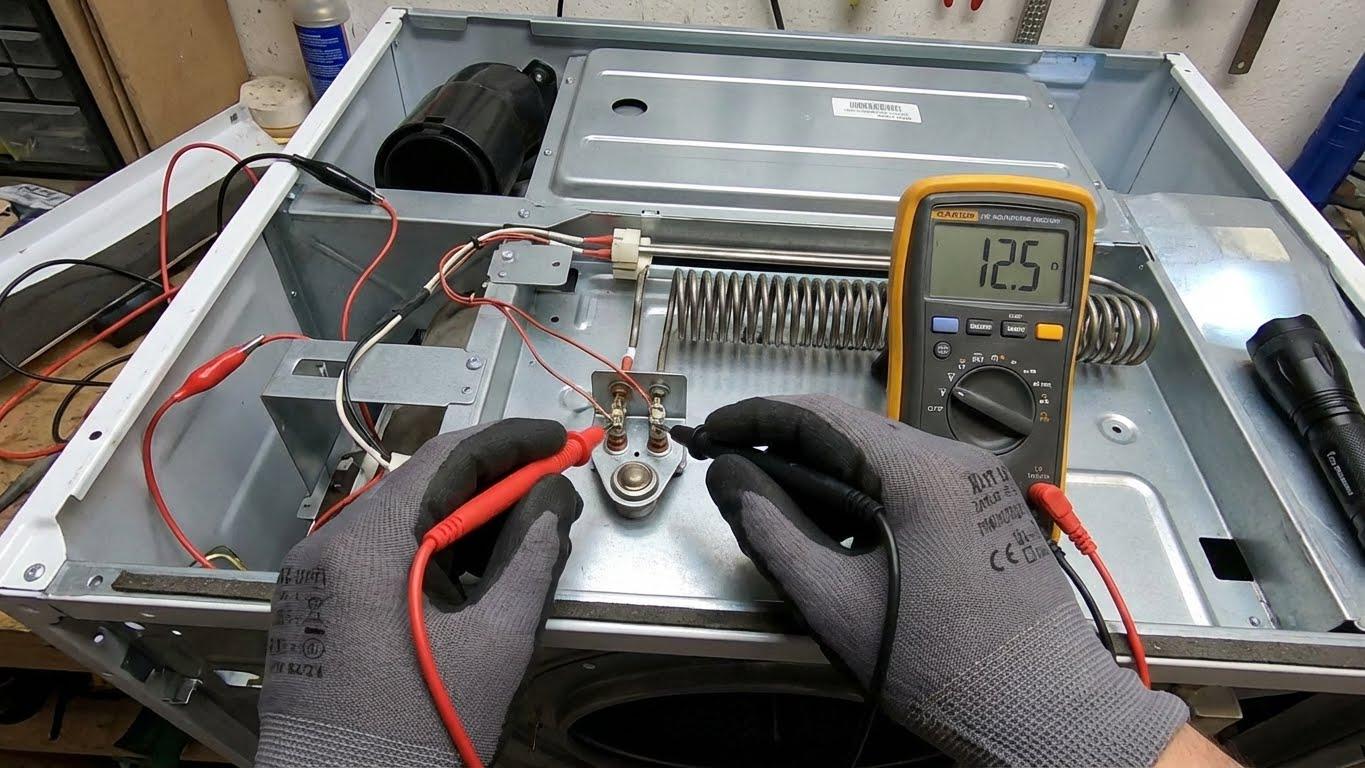
The coil that actually generates heat in an electric dryer. Over the years of heating and cooling, the coil can burn out or break. Visually, you may see a gap or a warped, melted spot. With a multimeter, you’ll measure resistance across the element terminals: a healthy element typically reads between 10 and 50 ohms, depending on your model. An open line (infinite resistance) means it’s dead.
If the coil burns out, you need to replace it, and it is better to hand it off to a professional.
3. Igniter, flame sensor, and gas valve coils (gas dryers)
In a gas dryer, the igniter lights the gas, the flame sensor confirms the flame, and the gas valve solenoid coils open to release gas. If anyone fails, you get no heat, and sometimes you’ll hear the dryer clicking as it tries and fails to ignite.
Anything combining gas and ignition carries real risk, and diagnosis here isn’t a guess-and-swap job. If you ever smell gas, stop immediately and call a professional.
4. Cycling thermostat, high-limit thermostat, and thermistor
These components regulate temperature; this tell the dryer how hot to get and when to back off. The thermistor (common on Samsung and LG units) is a temperature sensor; a faulty one can make the control board think the drum is already hot enough and skip the heat entirely. You may have seen the modern dryers like Samsung and LG dryers; a sensor fault often throws an error code on the display. Look yours up in the manual or on the manufacturer’s site, since the code usually points straight at the part.
Testing these reliably takes a multimeter and a little know-how. Comfortable with that? It’s doable. Otherwise, hand it off to pros.
5. Lint buildup inside the machine
Beyond the screen and the vent, lint accumulates inside the dryer cabinet over the years, choking airflow and tripping the same overheating safety shutoffs.
Gradually worsening drying performance, eventually ending in no heat, usually because a thermal fuse or thermostat finally cut out.
A deep interior cleaning is DIY-friendly and good maintenance, but if you’re opening the cabinet anyway, it pairs naturally with checking the fuse and element.
Should You Fix It Yourself or Call a Pro?
This is the decision that actually matters, so here’s an honest line.
It’s reasonable to DIY if…
- You’re comfortable unplugging the dryer (or shutting the breaker) and opening the back panel.
- You have basic tools and a multimeter to test parts for continuity.
- It’s an electric dryer, and you’re swapping a clearly identified part like a thermal fuse or heating element.
- You can match the exact replacement part to your model number (more on finding that below).
Stop and call a professional if…
- You smell gas, or the gas line connections feel beyond your skill level.
- The fault involves wiring, the breaker trips repeatedly, or you smell anything burning.
- Your dryer is a stacked laundry center or built-in unit that’s extremely difficult to disassemble.
- You’re unsure about safely discharging a capacitor (rare, but a technician knows how).
- The appliance is still under warranty; opening it may void it.
- You’re just mentally done. There’s zero shame in handing it off.
A quick gut check on testing: if the phrase “test the thermal fuse for continuity with a multimeter” means nothing to you, that’s not a failure. It’s your signal that hiring someone is the right call. Plenty of capable people draw the line exactly there.
What Will This Cost?
On paper, the parts are surprisingly cheap. Here’s the realistic range:
- Thermal fuse: $5 to $25
- Heating element: $30 to $80 (aftermarket up to genuine OEM)
- Igniter: $20 to $50
- Gas valve coil set: $15 to $40
But if the parts are not genuine, such as aftermarket parts, they can fail fast or pose a safety risk. A genuine OEM part built to your model lasts.
All State Appliance Repair’s certified techs install genuine manufacturer parts with a 1-year warranty, usually landing a heat repair in the low-to-mid-hundreds in San Francisco. You pay once. Call the expert to repair your dryer.
If You’re Calling a Repair Tech
A little prep makes the visit faster and the quote more accurate.
What to tell them
- The brand and model number. On most dryers, the model/serial label is inside the door opening, on the back, or behind the lint trap. Have it ready, since it determines parts and price.
- The exact symptom: “runs but produces no heat.”
- What you already checked: settings, breaker, lint screen, vent. This saves them time and you money.
- Any error code showing on the display (common on Samsung and LG).
How to Stop This From Happening Again
A single blog post cannot provide you with a complete checklist to follow. We recommend asking your technician for a better maintenance checklist for your dryer.
But again, the question arises: what is the common maintenance?
Most no-heat failures trace back to one thing: airflow. Stay ahead of it, and you’ll likely never see this problem again.
- Clean the lint screen every load. Once a month, wash it with water and a soft brush to remove invisible softener buildup.
- Clear the full vent line at least once or twice a year: the hose behind the dryer and the duct to the outside.
- Watch your drying times. When loads start taking noticeably longer, treat it as an early warning to clean the vent before the dryer overheats and trips a safety part.
That last habit is the one that quietly saves you the most, and since a clogged dryer vent is also a leading cause of household fires, it’s the rare maintenance task that protects your wallet and your home at the same time.