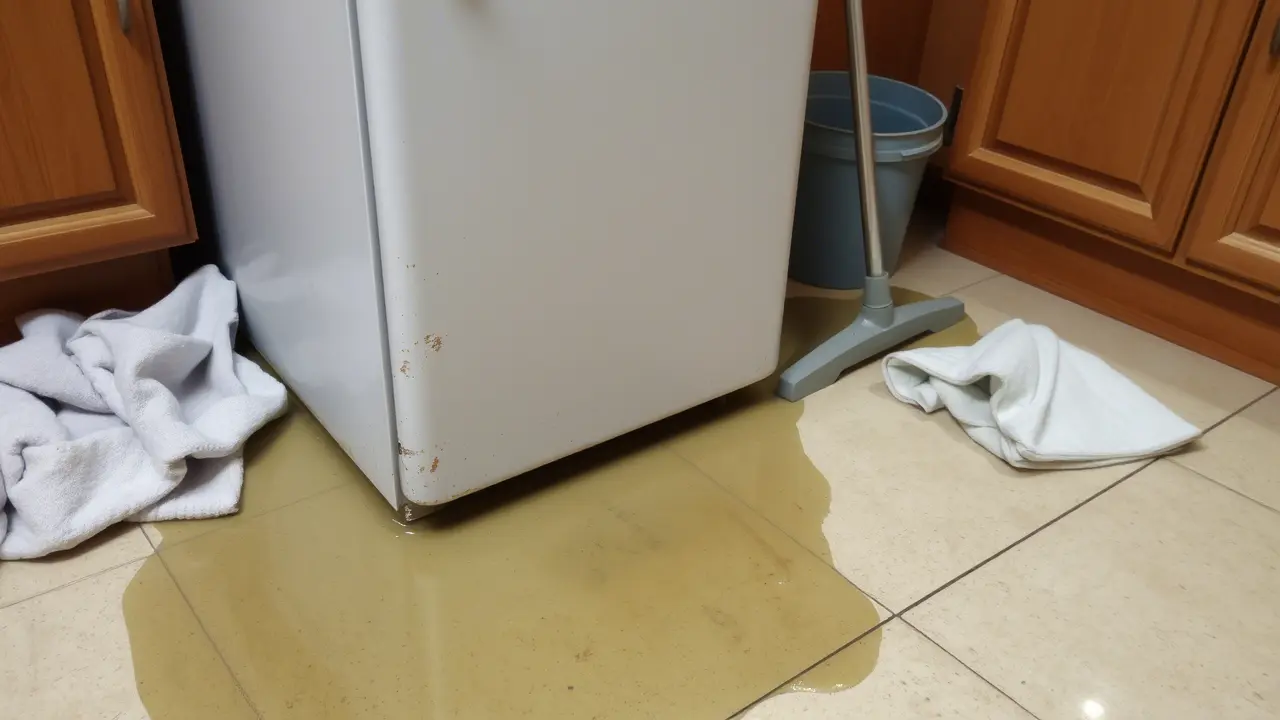
A leaking refrigerator can turn your kitchen into a mess, leaving puddles on the floor or water pooling inside the appliance. Not only is it inconvenient, but it can also damage your flooring or even pose safety risks if left unchecked. Whether you’re spotting water underneath your fridge or inside the compartments, don’t panic—many leaks are fixable with a bit of troubleshooting and some DIY effort. In this homeowner’s guide, we’ll walk you through the common causes of refrigerator leaks, how to diagnose the problem, and step-by-step fixes you can try yourself. Plus, we’ll let you know when it’s time to call in a professional from [Your Appliance Repair Service Name] to handle the job. Let’s dive in and get that leak under control!
Causes of Refrigerator Leaks
Refrigerator leaks can stem from various issues, ranging from simple clogs to more complex component failures. Based on insights from top resources like Mr. Appliance, Asurion, and D3 Appliance, here are the most common culprits:
- Clogged Defrost Drain
During the defrost cycle, your refrigerator removes frost from the evaporator coils, and this water flows into a drain tube. If debris, food particles, or ice block this drain, water backs up and leaks inside or under the fridge. - Damaged or Misaligned Water Supply Line
Refrigerators with ice makers or water dispensers rely on a water supply line. A cracked, loose, or improperly connected line can leak water, often at the back of the unit. - Cracked or Overflowing Drain Pan
The drain pan collects condensation from the fridge. If it’s cracked or overflows due to excessive humidity or poor evaporation, water spills onto the floor. - Faulty Water Inlet Valve
This valve supplies water to the ice maker and dispenser. If it’s damaged or stuck, it may leak water either inside or outside the fridge. - Worn Door Seals (Gaskets)
If the rubber seals around the door are cracked or loose, warm air enters the fridge, causing excess condensation that can mimic a leak. - Improper Leveling
Refrigerators should tilt slightly backward to allow coolant to flow properly. If it’s too level or tilts forward, condensation may pool and leak. - Excessive Humidity
High humidity in your home can increase condensation inside the fridge, overwhelming the drainage system and leading to leaks.
Understanding these causes is the first step to fixing the problem. Next, let’s diagnose where the leak is coming from.
How to Diagnose or Troubleshoot Leaks
Before you grab your tools, you need to pinpoint the source of the leak. Here’s a systematic approach to troubleshooting, inspired by the practical advice from the analyzed pages:
- Check for Water Location
- Inside the fridge: Look for water pooling at the bottom or dripping from the freezer. This often points to a clogged defrost drain.
- Underneath the fridge: Water under the unit suggests a drain pan issue, water supply line leak, or leveling problem.
- From the dispenser: A dripping water dispenser could indicate air in the line or a faulty valve.
- Inspect the Defrost Drain
- Unplug the fridge and locate the defrost drain (usually at the back of the freezer or bottom of the refrigerator compartment). Check for ice or debris blocking it.
- Examine the Water Supply Line
- Pull the fridge away from the wall (with help if needed) and inspect the water line running to the ice maker or dispenser. Look for cracks, kinks, or loose connections.
- Look at the Drain Pan
- Remove the front grille or kick plate at the bottom of the fridge. Slide out the drain pan and check for cracks or overflow.
- Test the Door Seals
- Close the door on a piece of paper. If you can pull it out easily, the seal may be worn and let in humid air.
- Verify Leveling
- Use a level tool to check if the fridge tilts slightly backward (about ¼ to ½ inch higher in front). Adjust the front legs if needed.
- Monitor Humidity
- If your home feels muggy, excess condensation could be the issue. Use a dehumidifier to test this theory.
Once you’ve identified the source, you’re ready to tackle the fix.
How to Fix a Leaking Refrigerator
Here’s how to address the most common causes of leaks, with step-by-step instructions drawn from expert advice:
Clearing a Clogged Defrost Drain
Tools Needed: Turkey baster, warm water, small brush or pipe cleaner.
Steps: Unplug the fridge. Locate the defrost drain (check your manual if unsure). Flush it with warm water using a turkey baster. If it’s still clogged, gently use a pipe cleaner to remove debris. Wipe up any excess water and plug the fridge back in.
Fixing a Damaged Water Supply Line
Tools Needed: Wrench, replacement water line (if needed).
Steps: Turn off the water supply (usually under the sink or in the basement). Unplug the fridge and pull it out. Inspect the line for leaks or damage. Tighten loose connections with a wrench or replace the line if cracked (follow your fridge’s manual for part specs).
Replacing a Cracked Drain Pan
Tools Needed: Screwdriver, replacement pan.
Steps: Unplug the fridge. Remove the front grille and slide out the drain pan. If it’s cracked, purchase a replacement from a hardware store or your fridge’s manufacturer. Install the new pan and reassemble.
Addressing a Faulty Water Inlet Valve
Tools Needed: Wrench, bucket.
Steps: Turn off the water supply and unplug the fridge. Locate the valve (behind the lower back panel). Disconnect the water line over a bucket and check for leaks. If damaged, replace it (this may require a pro if you’re unsure).
Sealing or Replacing Door Gaskets
Tools Needed: Soap, water, petroleum jelly, replacement gasket (if needed).
Steps: Clean the seals with warm soapy water. Apply a thin layer of petroleum jelly to keep them supple. If they’re cracked, order a replacement gasket and install it per the manual.
Leveling the Refrigerator
Tools Needed: Wrench, level tool.
Steps: Unplug the fridge. Place a level on top. Adjust the front legs with a wrench until the front is slightly higher than the back. Recheck with the level.
When to Call a Professional
While many leaks are DIY-friendly, some situations call for expert help from [Your Appliance Repair Service Name]:
- Persistent Leaks: If the leak continues after troubleshooting, it could be a deeper issue like a refrigerant problem or faulty compressor.
- Complex Repairs: Replacing a water inlet valve or fixing coolant issues requires specialized tools and knowledge.
- Safety Concerns: Water near electrical components poses a shock risk—don’t take chances.
- Time Constraints: If you’re short on time, our technicians can diagnose and fix the problem quickly and efficiently.
Contact us today for fast, reliable refrigerator repair services tailored to your needs!
Frequently Asked Questions
Is a fridge leaking water dangerous?
Yes, it can be. Water pooling on the floor creates a slipping hazard, and if it contacts electrical components, it could lead to shocks. Address leaks promptly to avoid risks.
How to troubleshoot a leaking refrigerator Frigidaire?
Start by checking the defrost drain (often at the back of the freezer) for clogs—flush it with warm water. Inspect the water supply line and drain pan for damage. Refer to your Frigidaire manual for model-specific tips.
Why is my refrigerator leaking water from underneath?
Common causes include a cracked drain pan, a clogged defrost drain, or a damaged water supply line. Check these components in that order.
Why is my fridge leaking water inside?
This is usually due to a clogged defrost drain or excessive condensation from poor door seals or high humidity. Clear the drain or replace the seals as needed.
What would most likely be the cause of a refrigerator leaking water?
A clogged defrost drain is the most frequent culprit, as it prevents water from draining properly during the defrost cycle.
Can I fix a leaking ice maker myself?
If the leak is from a clogged inlet tube, you can unplug the fridge and melt ice with a hairdryer. For valve or line issues, a professional is recommended.
How often should I check my fridge for leaks?
Inspect it every 6 months during routine cleaning to catch issues early and prevent costly repairs.